How you can Hyperscale your Applications Using Mesos & Marathon

Audio : Listen to This Blog.
In a previous blog post we have seen what Apache Mesos is and how it helps to create dynamic partitioning of our available resources which results in increased utilization, efficiency, reduced latency, and better ROI. We also discussed how to install, configure and run Mesos and sample frameworks. There is much more to Mesos than above.
In this post we will explore and experiment with a close to real-life Mesos cluster running multiple master-slave configurations along with Marathon, a meta-framework that acts as cluster-wide init and control system for long running services. We will set up a 3 Mesos master(s) and 3 Mesos slaves(s), cluster them along with Zookeeper and Marathon, and finally run a Ruby on Rails application on this Mesos cluster. The post will demo scaling up and down of the Rails application with the help of Marathon. We will use Vagrant to set up our nodes inside VirtualBox and will link the relevant Vagrantfile later in this post.
To follow this guide you will need to obtain the binaries for
-
- Ubuntu 14.04 (64 bit arch) (Trusty)
- Apache Mesos
- Marathon
- Apache Zookeeper
- Ruby / Rails
- VirtualBox
- Vagrant
- Vagrant Plugins
Let me briefly explain what Marathon and Zookeeper are.
Marathon is a meta-framework you can use to start other Mesos frameworks or applications (anything that you could launch from your standard shell). So if Mesos is your data center kernel, Marathon is your “init” or “upstart”. Marathon provides an excellent REST API to start, stop and scale your application.
Apache Zookeeper is coordination server for distributed systems to maintain configuration information, naming, provide distributed synchronization, and group services. We will use Zookeeper to coordinate between the masters themselves and slaves.
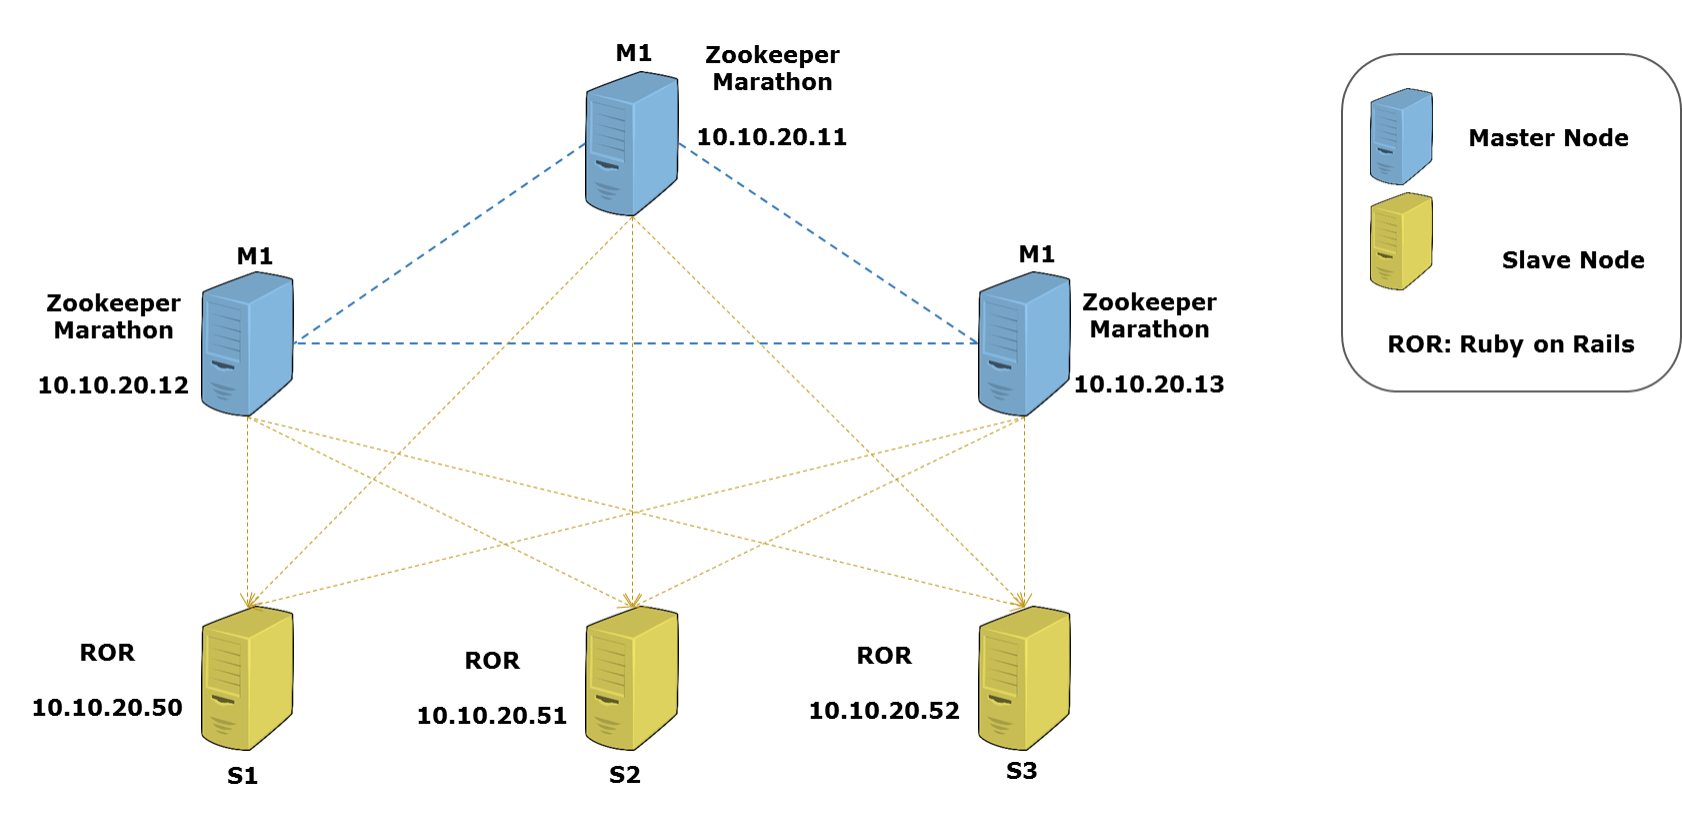
For Apache Mesos, Marathon and Zookeeper we will use the excellent packages from Mesosphere, the company behind Marathon. This will save us a lot of time from building the binaries ourselves. Also, we get to leverage bunch of helpers that these packages provide, such as creating required directories, configuration files and templates, startup/shutdown scripts, etc. Our cluster will look like this:
Installation
$ sudo apt-key adv --keyserver keyserver.ubuntu.com --recv E56151BF
$ echo "deb http://repos.mesosphere.io/ubuntu trusty main" |  sudo tee /etc/apt/sources.list.d/mesosphere.list
$ sudo apt-get -y update
On master nodes:
$ sudo apt-get install mesosphere
On slave nodes:
$ sudo apt-get install mesos
You can save a lot of time if you clone this repository and then run the following command inside your copy.
$ vagrant up
Configuration
Zookeeper
$ sudo service zookeeper stop
Edit /etc/zookeeper/conf/myid on each of the master nodes. Replace the boilerplate text in this file with a unique number (per server) from 1 to 255. These numbers will be the IDs for the servers being controlled by Zookeeper. Lets chose 10, 30 and 50 as IDs for the 3 Mesos master nodes. Save the files after adding 10, 30 and 50 respectively in /etc/zookeeper/conf/myid for the nodes. Here’s what I had to do on the first master node. Same has to be repeated on other nodes with respective IDs.
$ echo 10 | sudo tee /etc/zookeeper/conf/myid
Note the configuration template line below. server.id=host:port1:port2. port1 is used by peer ZooKeeper servers to communicate with each other, and port2 is used for leader election. The recommended values are 2888 and 3888 for port1 and port2 respectively but you can choose to use custom values for your cluster.
Assuming that you have chosen the IP range 10.10.20.11-13 for your Mesos servers as mentioned above, edit /etc/zookeeper/conf/zoo.cfg to reflect the following:
# /etc/zookeeper/conf/zoo.cfg
server.10=10.10.20.11:2888:3888
server.30=10.10.20.12:2888:3888
server.50=10.10.20.13:2888:3888
This is a good tutorial on understand fundamentals of Zookeeper. And this document is perhaps the latest and best document to know more about administering Apache Zookeeper, specifically this section is of relevance of what we are doing.
All Nodes
Zookeeper Connection Details
#/etc/mesos/zk
zk://10.10.20.11:2181,10.10.20.12:2181,10.10.20.13:2181/mesos
IP Addresses
Masters
$  echo  | sudo tee /etc/mesos-master/ip
$ sudo cp /etc/mesos-master/ip /etc/mesos-master/hostname
Slaves
$ echo  | sudo tee /etc/mesos-slave/ip
$ sudo cp /etc/mesos-slave/ip /etc/mesos-slave/hostname
If you are using the Mesosphere packages, then you get a bunch of intelligent defaults. One of the
most important things you get is a convenient way to pass CLI options to Mesos. All you need to do is
create a file with same name as that of the CLI option and put the correct value that you want to
pass to Mesos (master or slave). The file needs to be copied to a correct directory. In case of Mesos
masters, you need to copy the correct file to /etc/mesos-master and for slaves you should copy the
file to /etc/mesos-slave For example: echo 5050 > sudo tee /etc/mesos-slave/port
Mesos Servers
We need to stop the slave service on all masters if they are running. If they are not, the following command might give you a harmless warning.
$ sudo service mesos-slave stop
$ echo manual | sudo tee /etc/init/mesos-slave.override
Mesos Slaves
$ sudo service mesos-master stop
$ echo manual | sudo tee /etc/init/mesos-master.override
$ echo manual | sudo tee /etc/init/zookeeper.override
Marathon
First create a directory for Marathon configuration.
$ sudo mkdir -p /etc/marathon/conf
Marathon binary needs to know the values for –master and –hostname. We can reuse the files that we used for Mesos configuration.
$ sudo cp /etc/mesos-master/ip /etc/marathon/conf/hostname
$ sudo cp /etc/mesos/zk /etc/marathon/conf/master
$ echo zk://10.10.20.11:2181,10.10.20.12:2181,10.10.20.13:2181/marathon \
| sudo tee /etc/marathon/conf/zk
Starting Services
Master
$ sudo service zookeeper start
$ sudo service mesos-master start
$ sudo service marathon start
Slave
$ sudo service mesos-slave start

Running Your Application
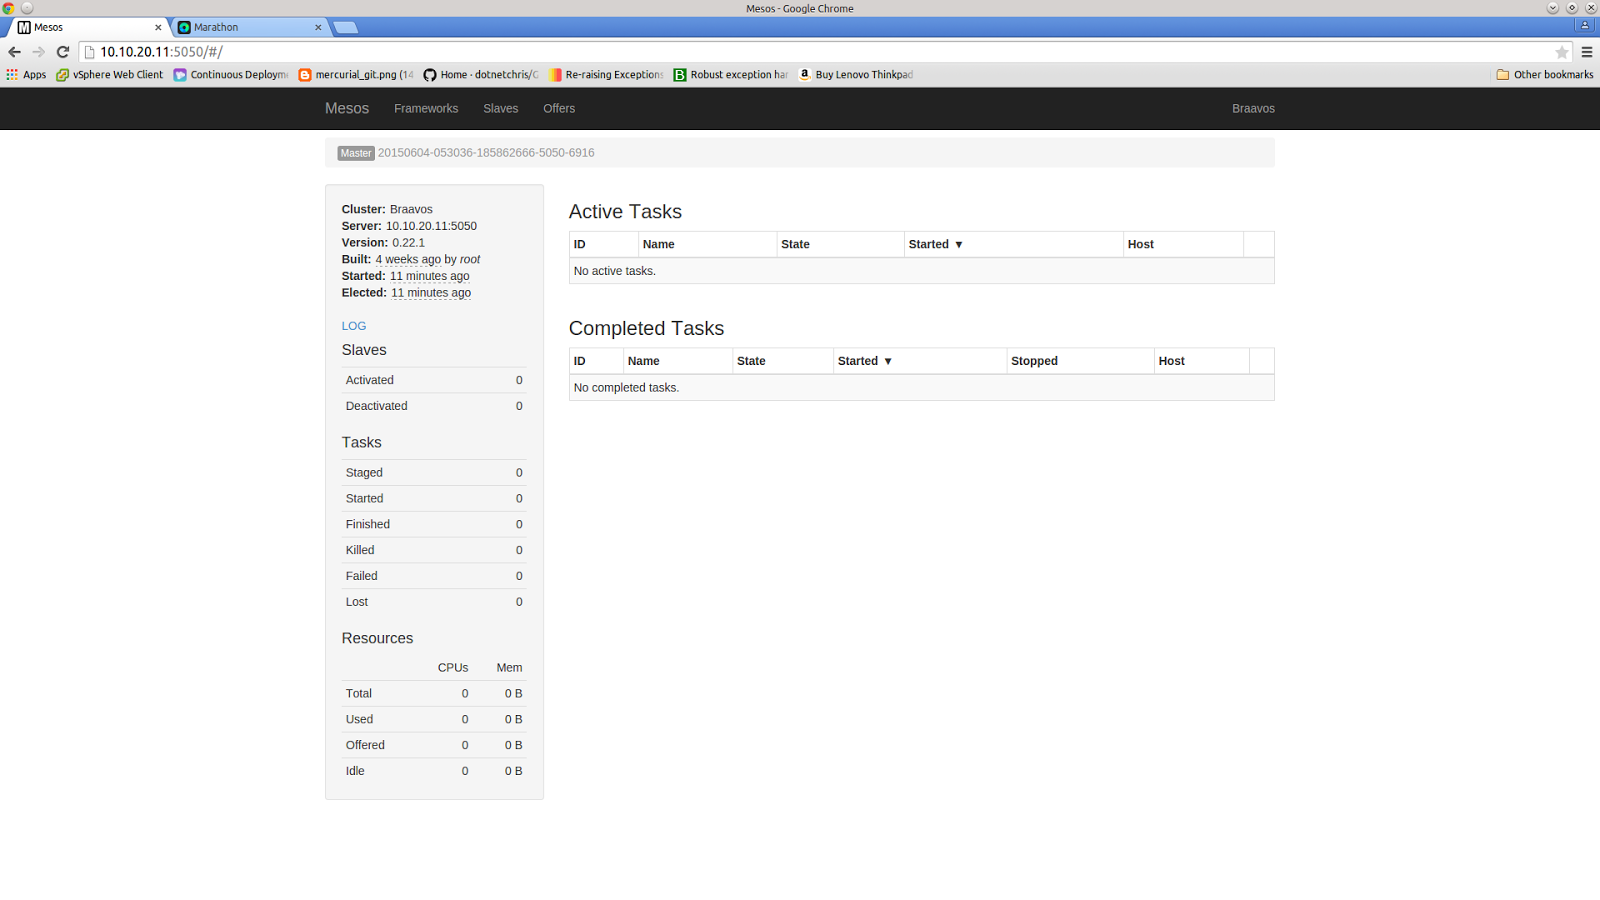
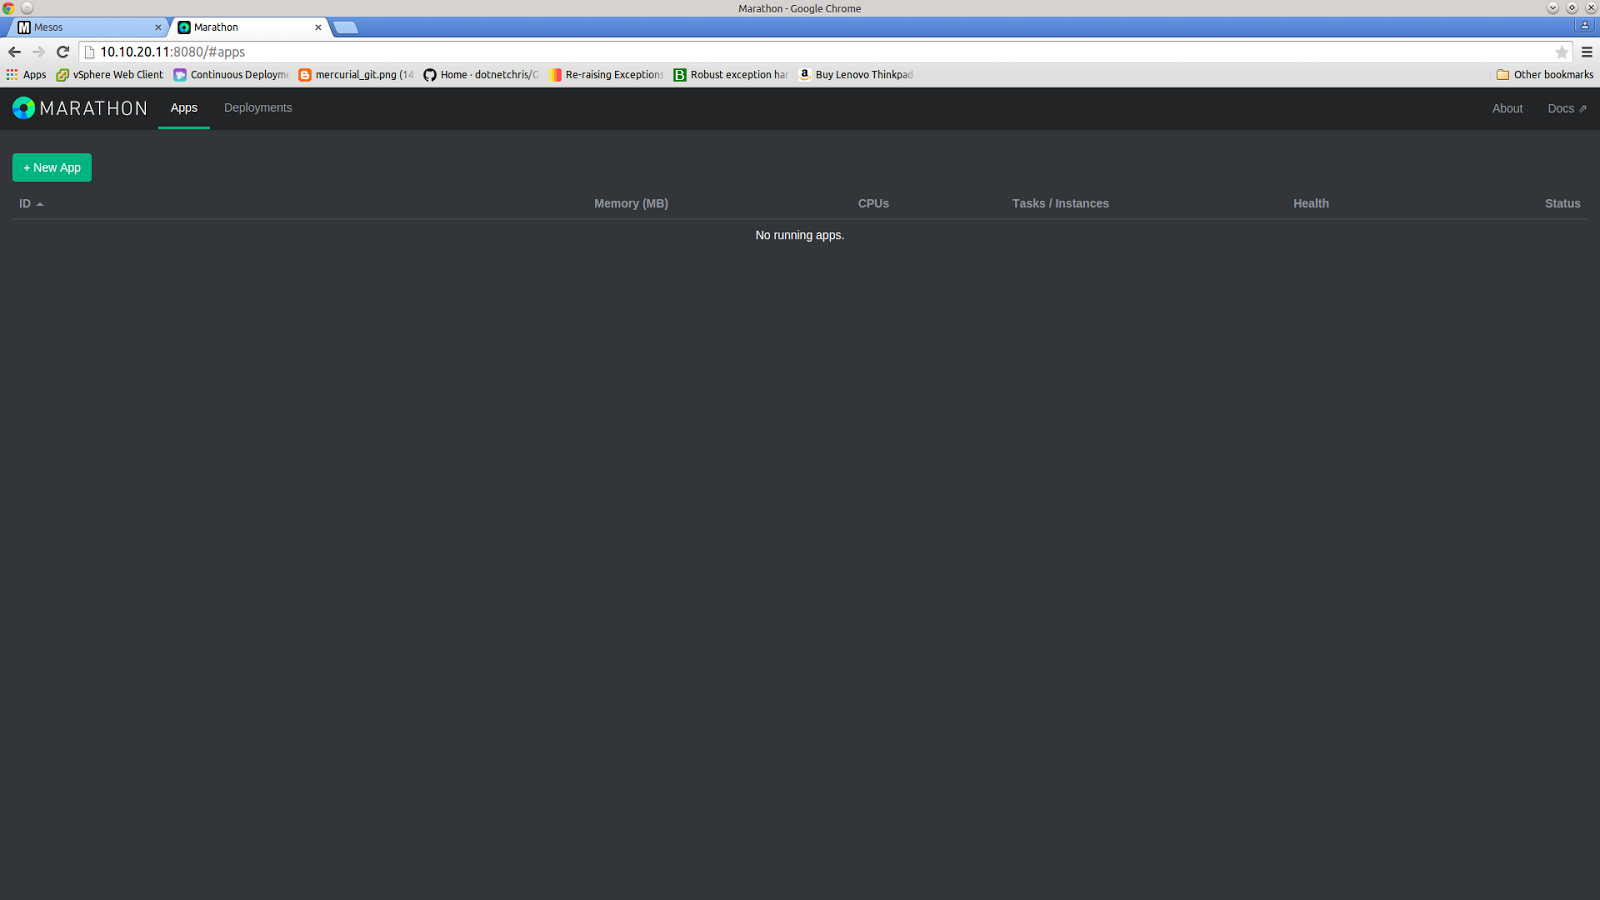
Go to your Marathon Web UI, if you followed the above instructions then the URL should be one of the Mesos masters on port 8080 ( i.e. http://10.10.20.11:8080 ). Click on “New App” button to deploy a new application. Fill in the details. Application ID is mandatory. Select relevant values for CPU, Memory, Disk Space for your application. For now let number of instances be 1. We will increase them later when we scale up the application in our shiny new cluster.
There are a few optional settings that you might have to take care depending on our your slaves are provisioned and configured. For this post, I made sure each slave had Ruby, Ruby related dependencies and Bundler gem were installed. I took care of this when I launched and provisioned the slaves nodes.
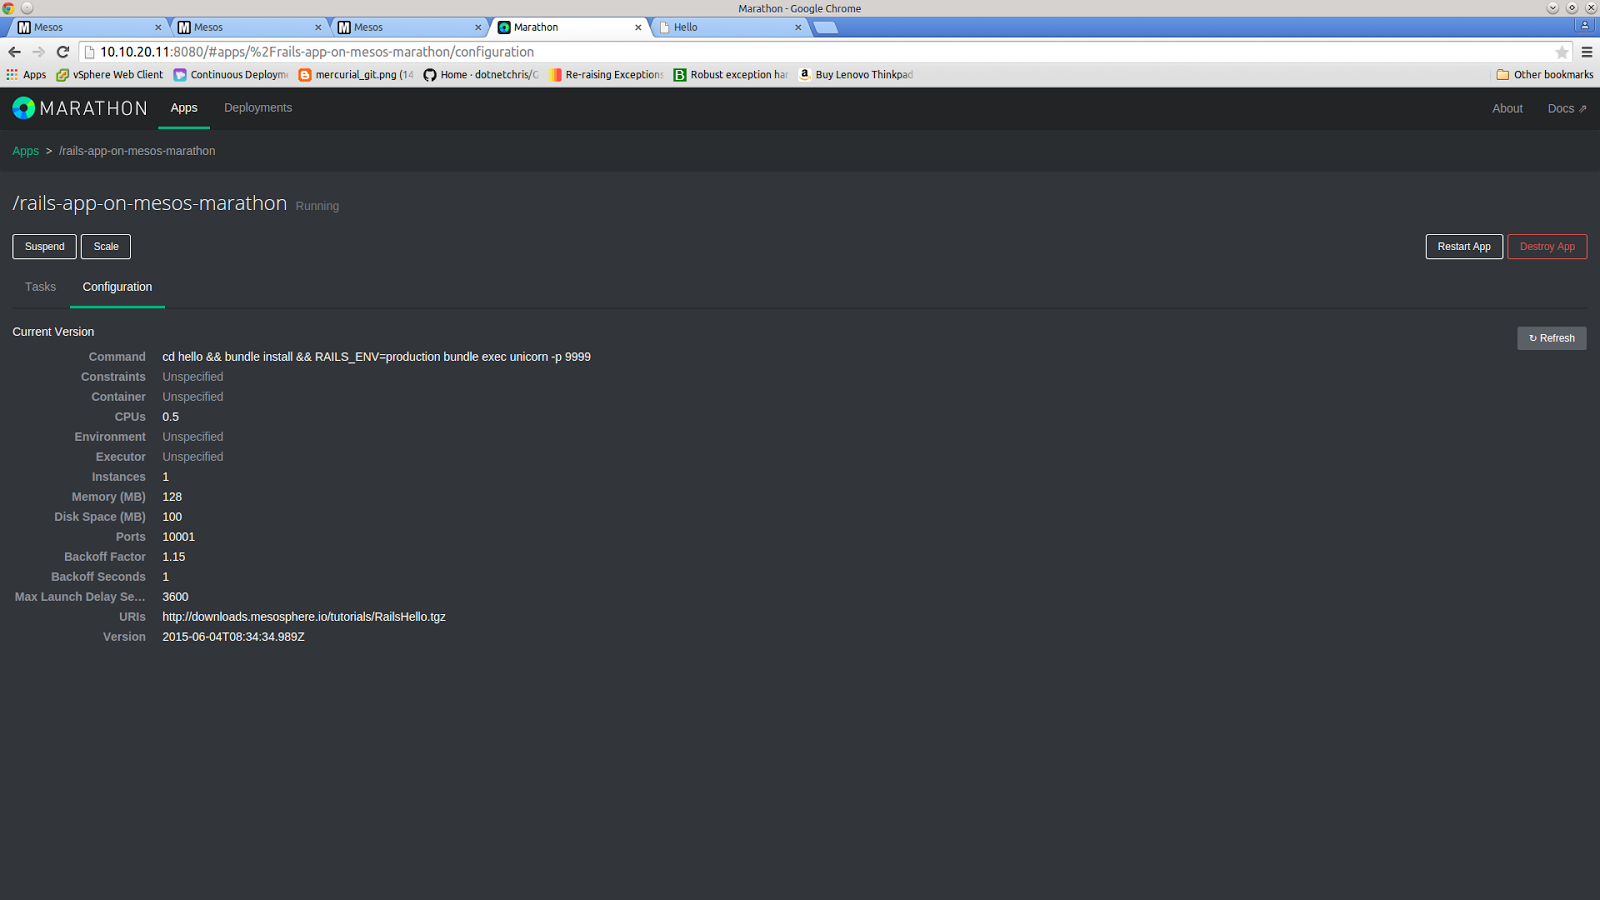
One of the important optional settings is “Command” that Marathon can execute. Marathon monitors this command and reruns it if it stops for some reason. Thus Marathon claims to fame as “init” and runs long running applications. For this post, I have used the following command (without the quotes).
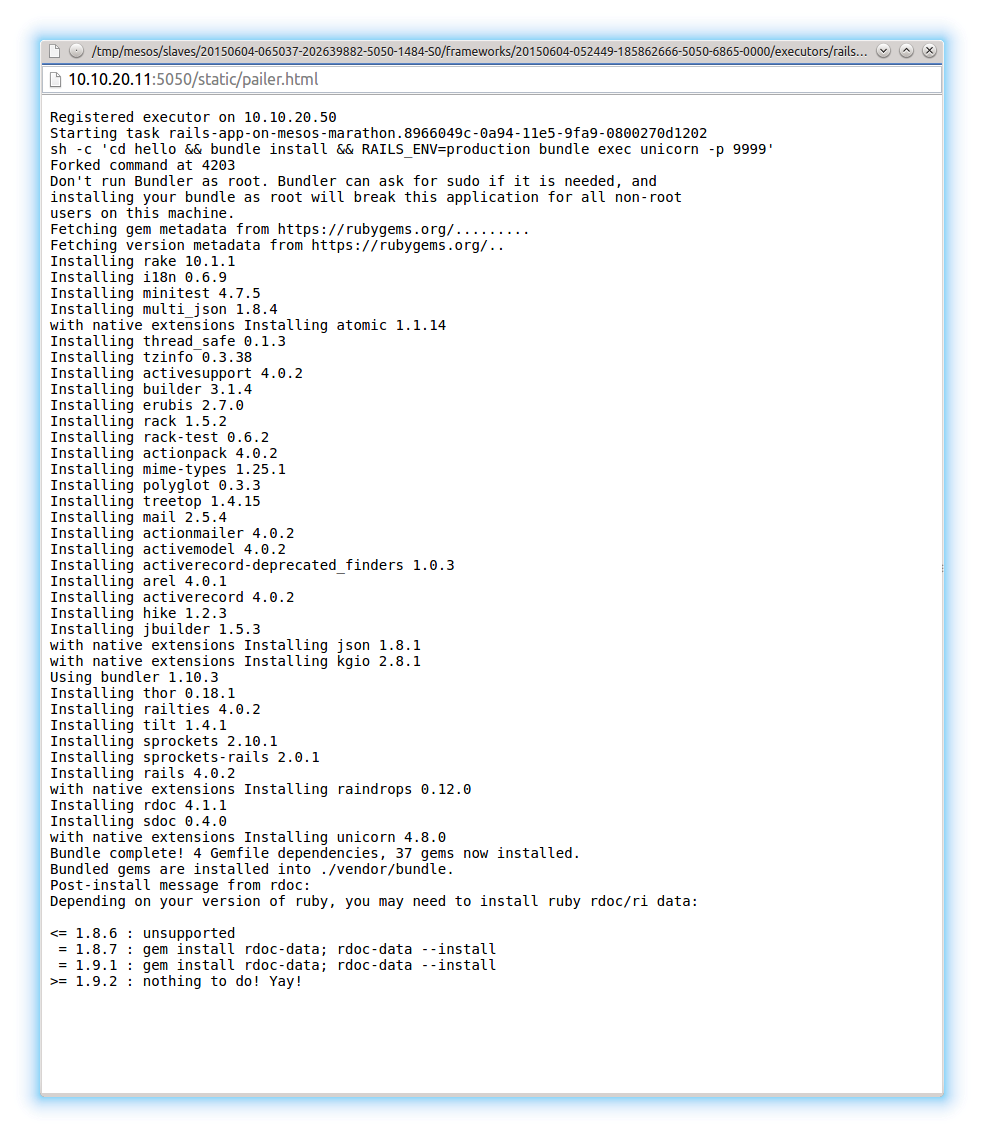
“cd hello && bundle install && RAILS_ENV=production bundle exec unicorn -p 9999”
I am using a sample Ruby On Rails application. I have put the url of the tarred application in the URI field. Marathon understands a few archive/package formats and takes care of unpacking them so we needn’t worry about them. Applications need resources to run properly, URIs can be used for this purpose. Read more about applications and resourceshere.
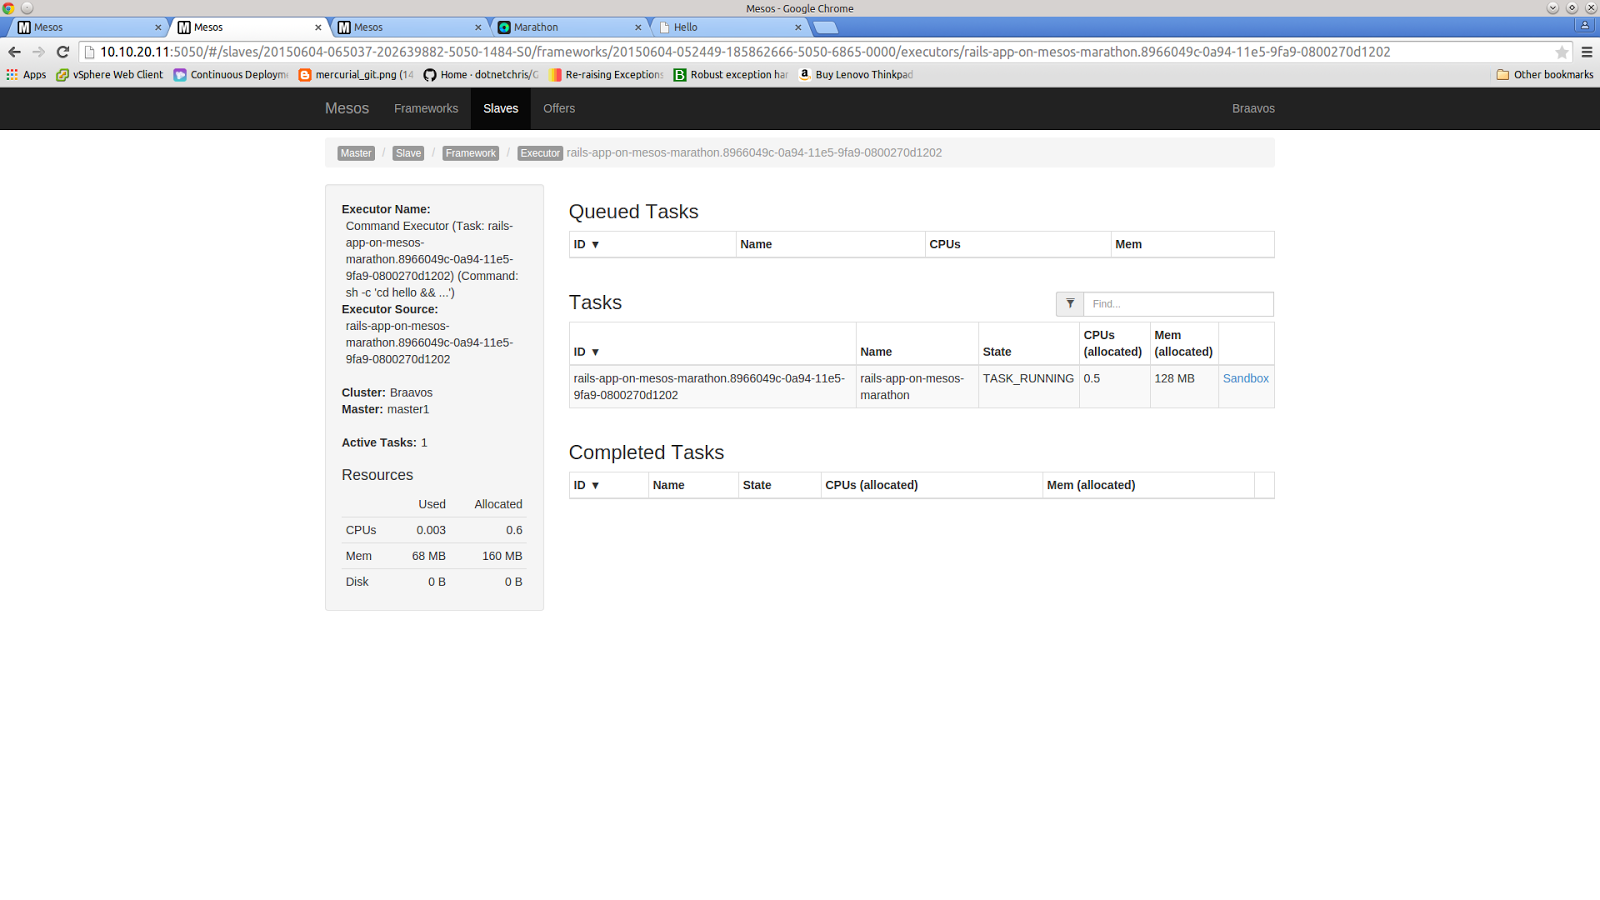
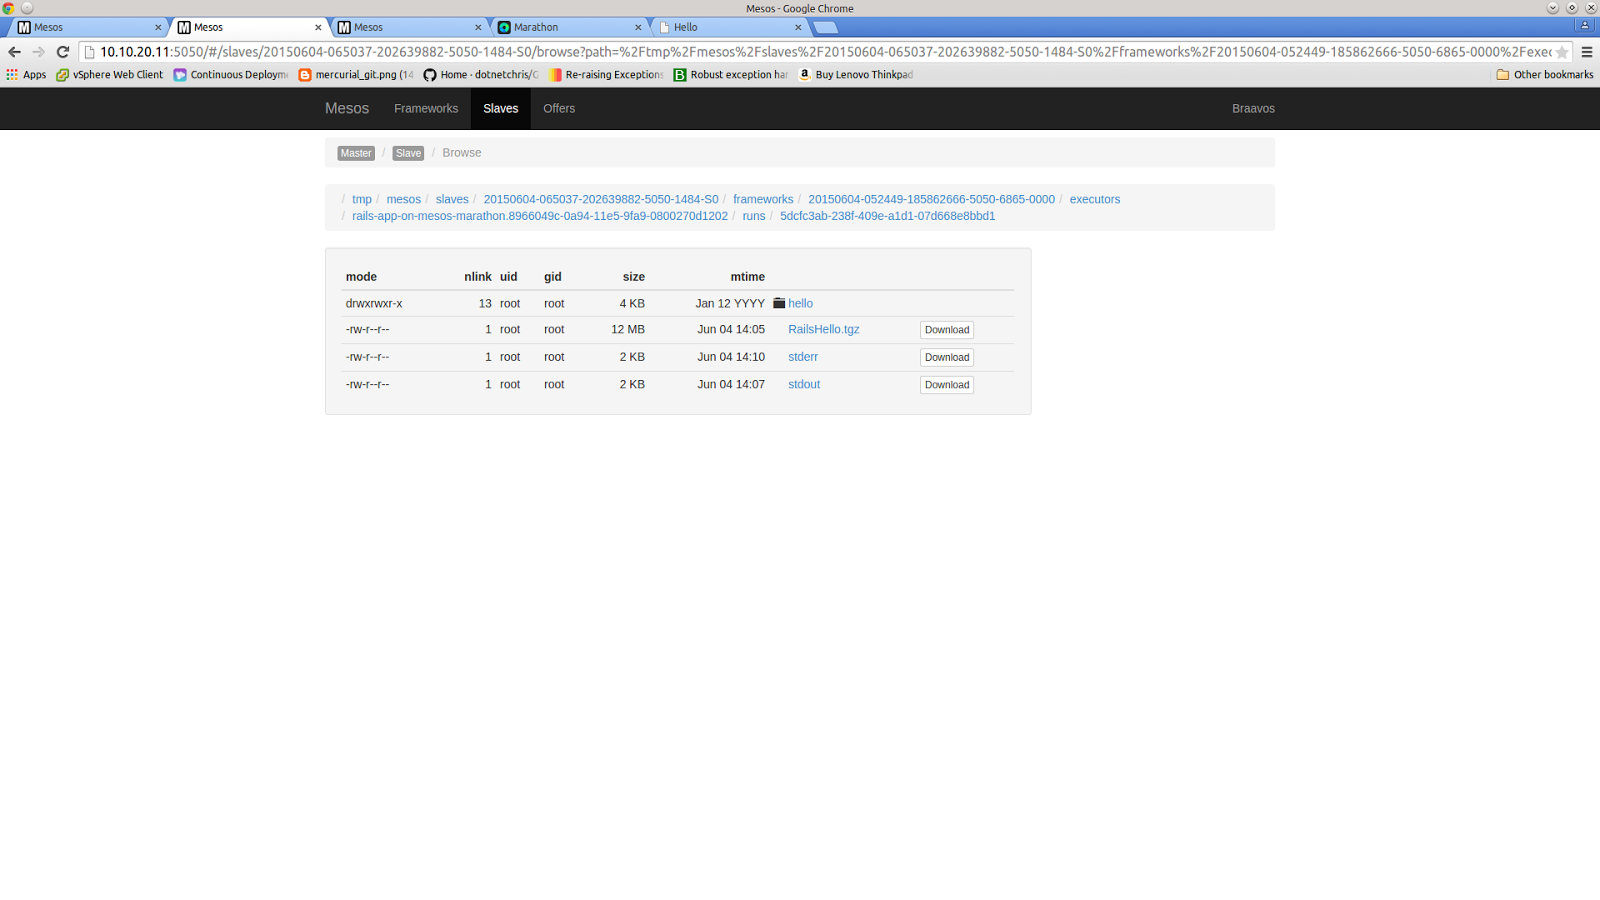
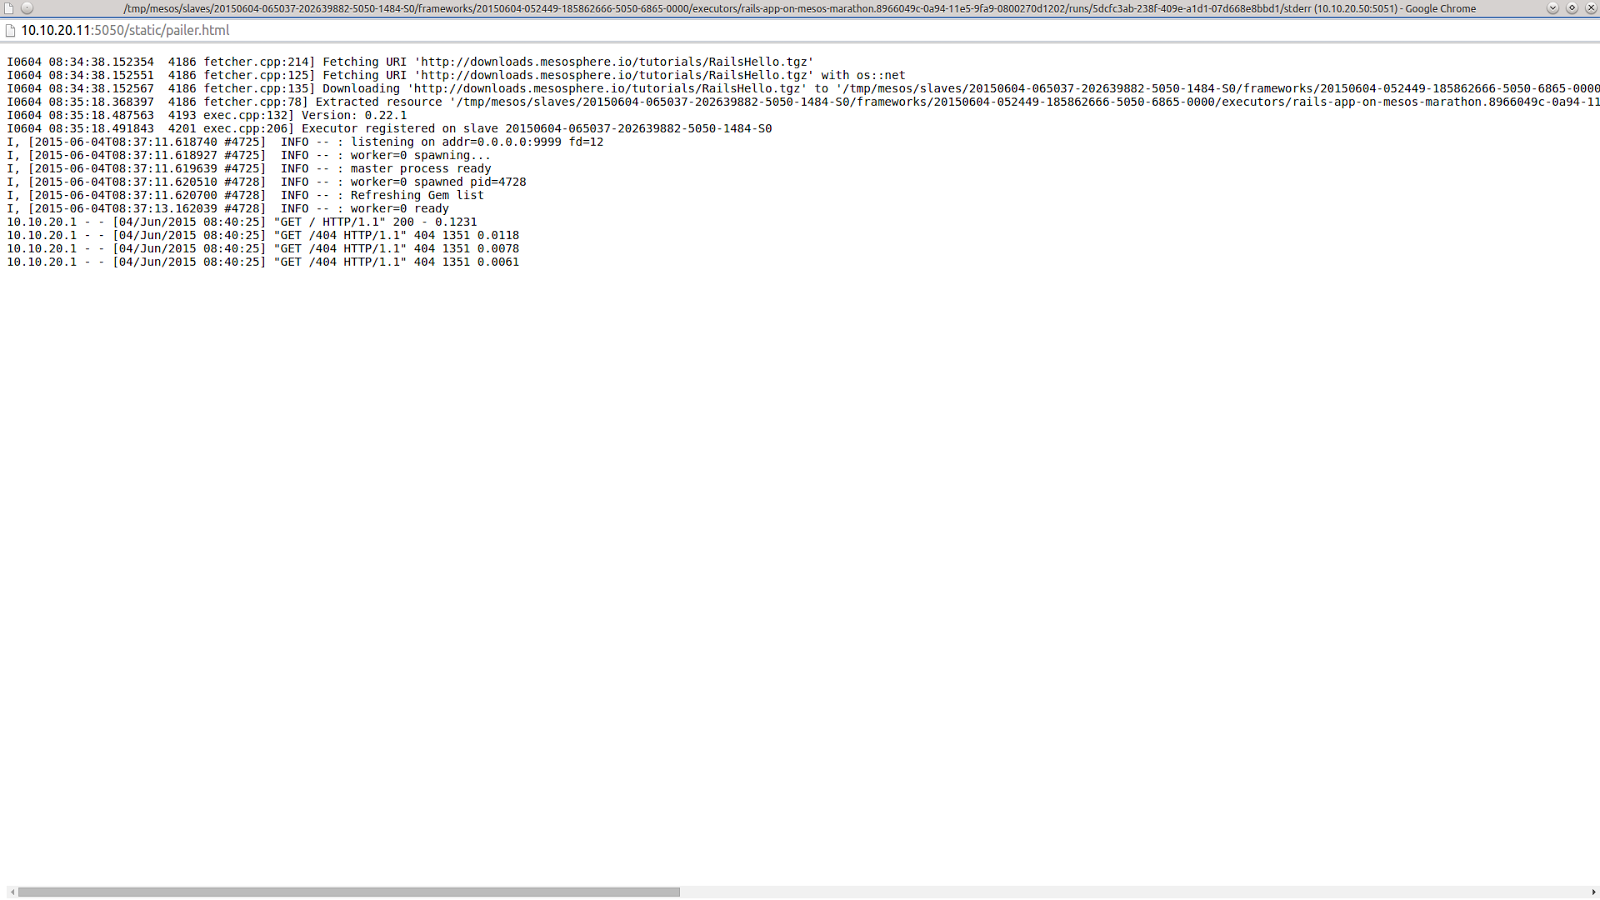
Once you click “Create”, you will see that Marathon starts deploying the Rails application. A slave is selected by Mesos, the application tarball is downloaded, untarred, requirements are installed and the application is run. You can monitor all the above steps by watching the “Sandbox” logs that you should find on Mesos main web UI page. When the state of task will change from “Staging” to “Running” we have a Rails application run via Marathon on a Mesos slave node. Hurrah!
If you followed the steps from above, and you read the “Sandbox” logs you know the IP of the node where the application was deployed. Navigate to the SLAVE_NODE_IP:9999 to see your rails application running.
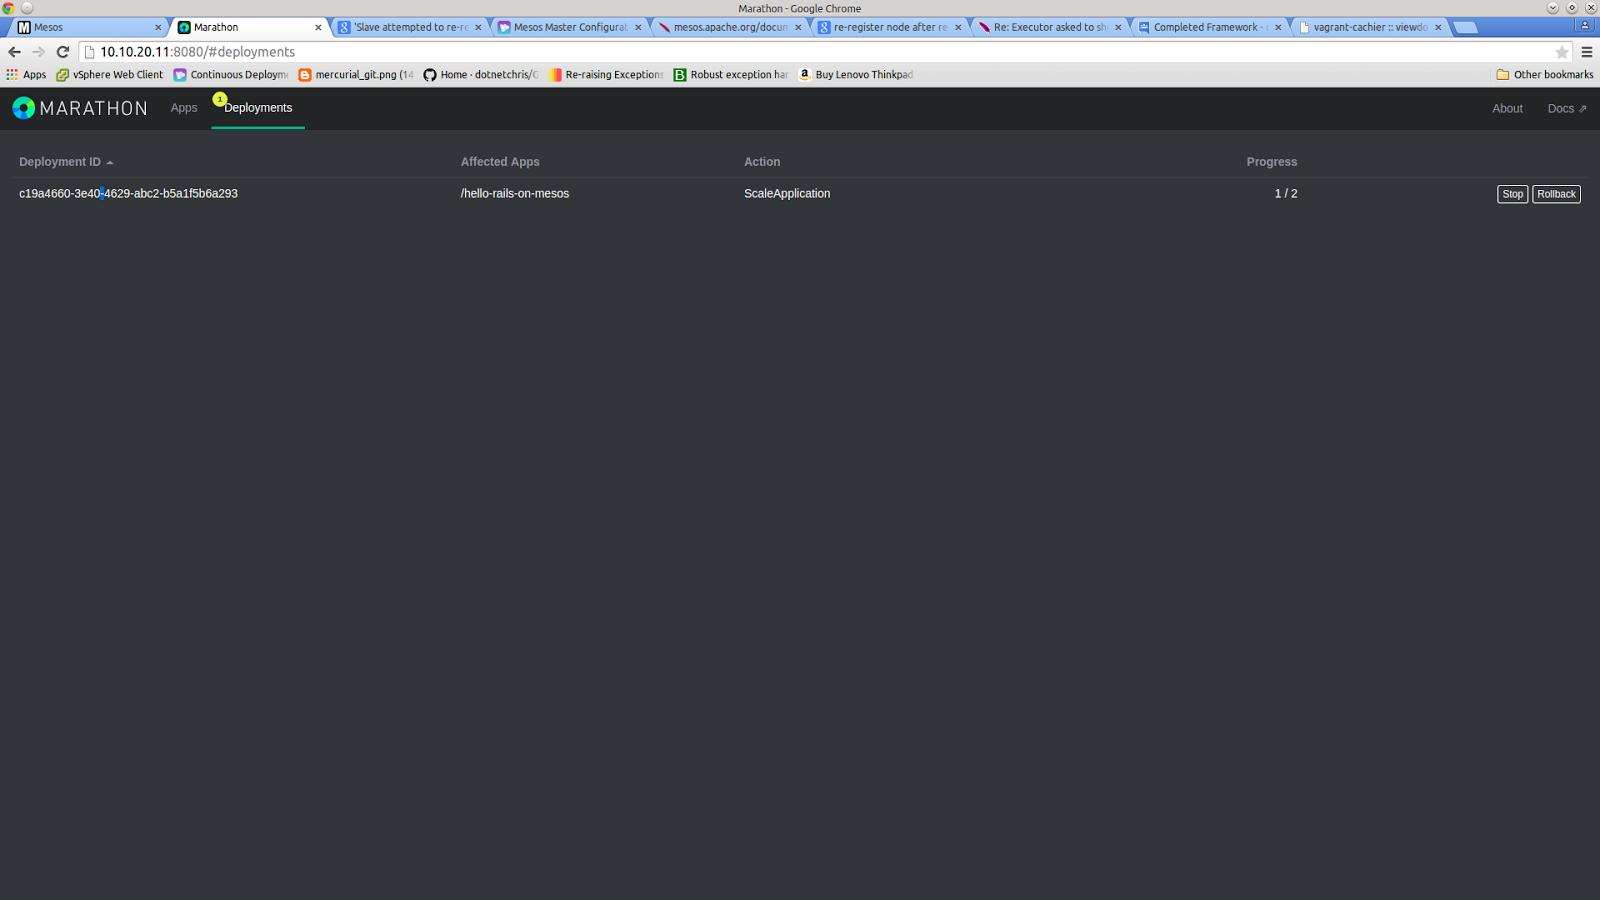

Scaling Your Application
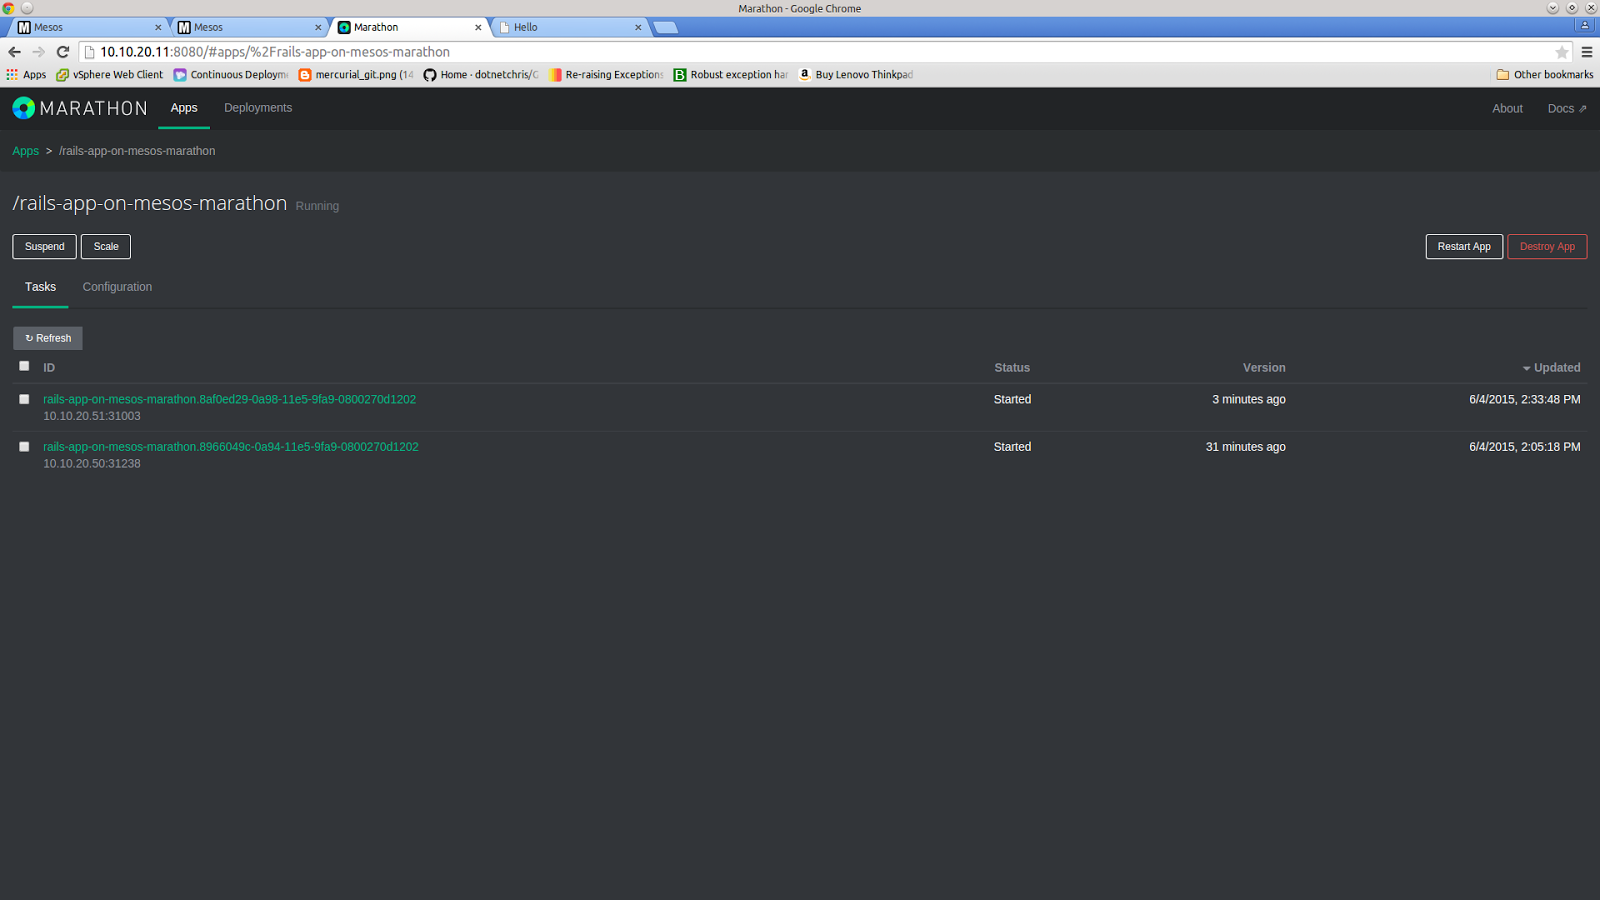
It would be trivial to put these IPs behind a load-balancer and a reverse proxy so that access to your application is as simple as possible.
Graceful Degradation (and vice versa)
Marathon REST API
{
    "instances" : 2
}
Conclusion
There are other projects that do similar things like Marathon and sometimes more. I definitely would like to mention Apache Aurora and HubSpot’s Singularity.

Comments are closed here.