How to build a smart home using Raspberry Pi device

Audio : Listen to This Blog.
Abstract
This article describes a case study on building a smart home using Raspberry Pi device. We have used AndroidThings as the OS on the Raspberry device, and Firebase as backend service for storing the data (which is synced real time with all devices authenticated). The article gives a brief description on the current trend on Internet of Things (IoT) devices (popular IoT platforms like Raspberry Pi, Arduino, etc.). In addition, the article mentions a brief on AndroidThings OS (provided by Google), which was developed for IoT devices and support Java framework for application developers to develop IoT applications using Java. We also talk about Firebase, which was used as a backend to store data.
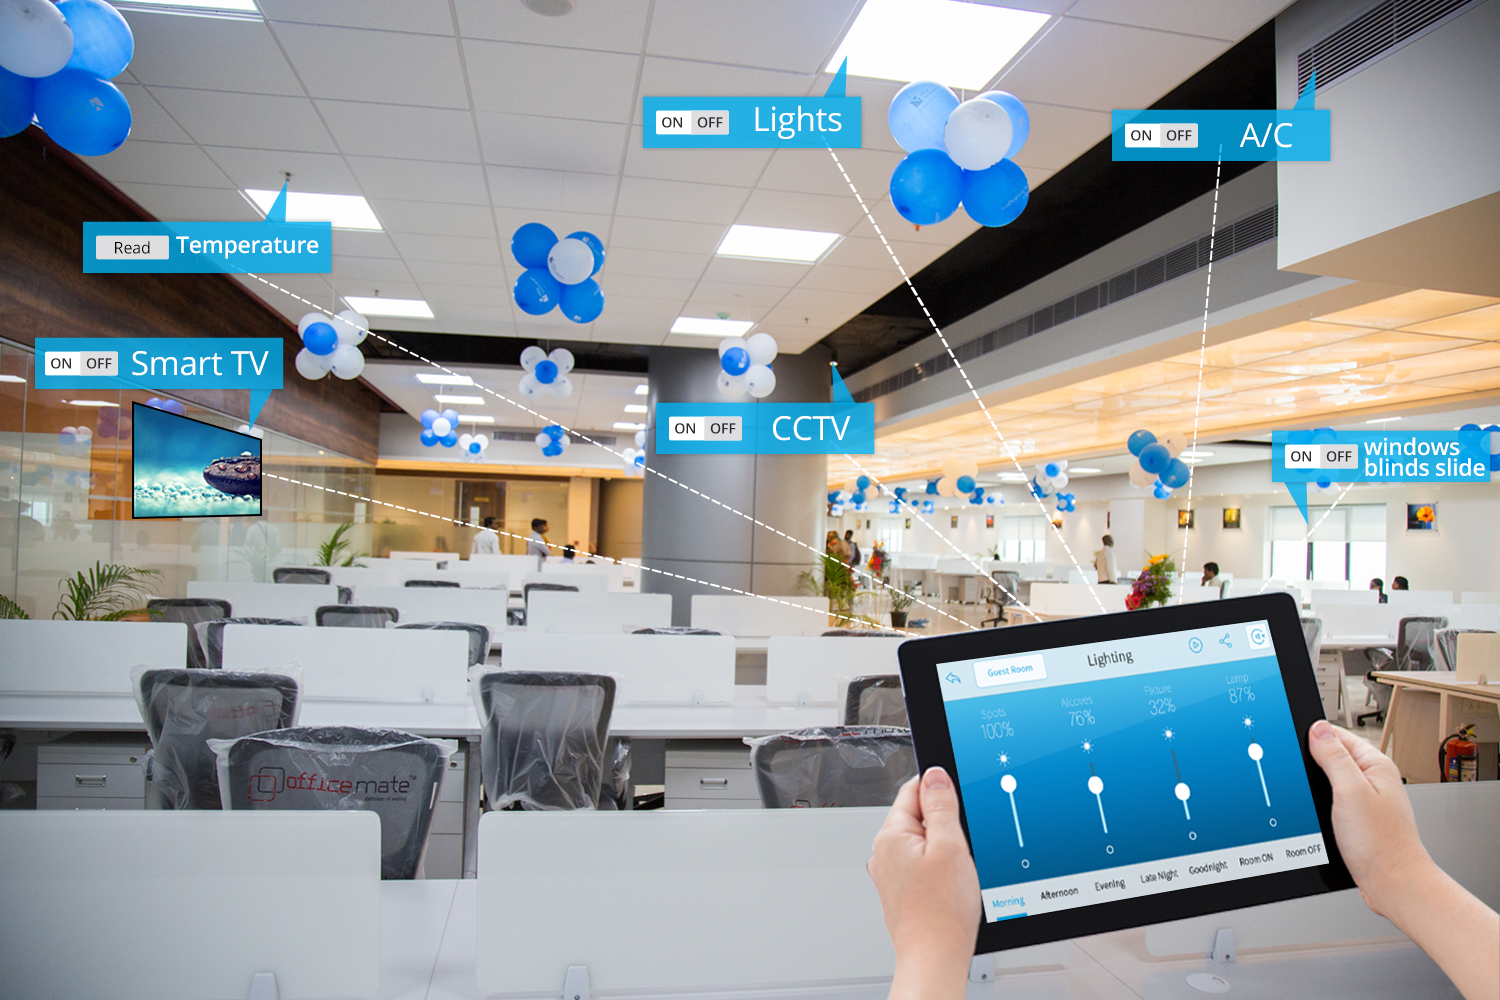
Possibilities of controlling several devices from a single panel in MSys office. (Creative visualization)
AndroidThings
AndroidThings brings the entire Android platform now to devices on which you can build Java based IoT applications. It has the potential to change the game for IoT, like Android did for devices.
The thing that we have found most IoT developers struggle with, is collecting sensor data, transport and save that data to the backend. And the real value lies in analyzing that data for alerts, visualization, etc. And that is where we believe we will see a lot of people understand the values of Firebase, Google Cloud Services more. AndroidThings, developed by Google fits all these pieces together to create a compelling IoT platform.
One of the interesting things that is being mentioned as a strength of Android Things is that OS updates will be distributed by Google themselves.
Firebase
Firebase provides a quick way to persist sensory data collected at the device level, and it works great with the Android APIs, which is supported by AndroidThings. A lot of mobile and device programmers that I have come across struggle with server side programming. Firebase can really help bridge that gap and make it easier.
It will be interesting to see developers use its offline features. If you are new to IoT or in general any device that collects data and needs to transmit it over networks, the golden rule to be assumed is that network connectivity cannot be assumed. As a result, you will need to collect the data offline and when network is available, transmit this over to your server. Firebase with its offline feature can really make this simple for a lot of developers.
Firebase has a ton of features including Real-time Database, Authentication, Cloud Messaging, Storage, Hosting, Test Lab and Analytics but I’m only going to use Authentication, Real-time Database.
Authentication
Any proper app has some form of security. Firebase Authentication provides this form of security by flawlessly providing an OAuth platform that integrates popular OAuth providers such as Facebook, Google+ and Twitter.
Real-time Database
This is a NoSQL cloud database. Okay, this means that all data in your application is stored online in the cloud and an added advantage is that it syncs across all connected clients in real time (as it changes).
Implementation: Smart Home using RaspberryPi.
This implementation requires the following:
Software:
1.Java.
2.Android Application Development.
Hardware:
1.RaspberryPi 3
2.Ethernet Cable
3.LED Bulb
4.1KΩ resistor
5.Female to Male jumper wires
6.Breadboard
7.Power Supply for Raspberry Pi
8.SD Card (8GB or higher)
Demo: LED bulb controlled through internet (using Android device)
Software implementation
1.Android Client app – talks to firebase, updates value in firebase.
2.Android Things App – reads value from firebase and sends instructions to the Led bulb (through Raspberry Pi device)
Workflow
- Any Internet enabled android mobile that has android app, connects with Firebase using OAuth authentication.
- After successful authentication, it updates/reads value from Firebase.
- Firebase updates the values to IoT device that has AndroidThings OS and Android IoT app.
- IoT device controls all the connected electronic devices.
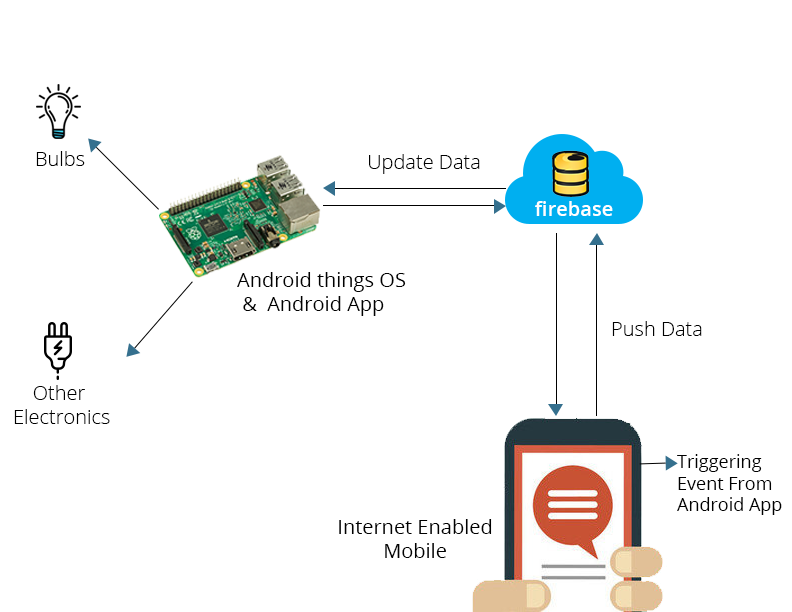
Connecting IoT device in Cloud.
Connecting IoT device in Cloud.
1. Download the Developer preview from Android Things web site.
https://developer.android.com/things/preview/download.html
2. Download Android Thing OS for Raspberry Pi
3. After formatting your SD Card we have to install the OS.
4. After boot up RaspberryPi will connect to your network through Ethernet.
5. Once it is successfully connected you will see the following message
connected to <deviceip-address>:5555
6. LED positive pin to 7 (BCM4) and Negative to 9 (Ground)
7. Create a Firebase Project in https://firebase.google.com/.
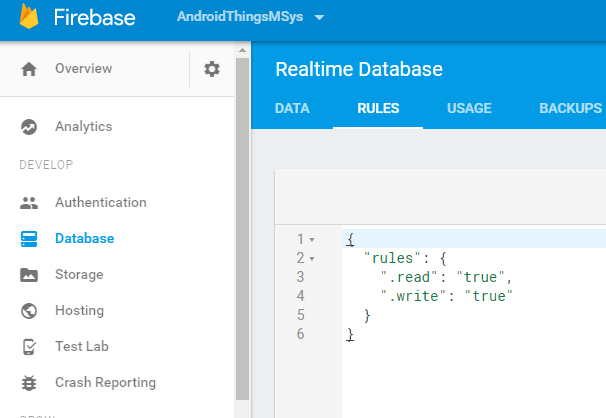
8. Go to rules section and change the rules as follows
{
"rules": {
".read": "true",
".write": "true"
}
}
9. Download this Android-Things-MSys project from the Github.
https://github.com/Chokkar-G/Android-Things-MSys.git
10. Get the google-services.json file from the Firebase project and copy it to your app folder.

11. After successful compilation, run your first Android Things project which is configured with Firebase.
12. Click on ‘Run’ button in Android studio and select your device.
13. Now your application will run on your device and you will see the bulb is blinking.
If you use a platform other than RaspberryPi, change pin value as shown below:
I have used BCM4 GPIO pin for RaspberryPi device.
(BoardDefaults.java)
public static String getGPIOForLED() {
switch (getBoardVariant()) {
case DEVICE_EDISON_ARDUINO:
return "IO13";
case DEVICE_EDISON:
return "GP45";
case DEVICE_RPI3:
return "BCM4";
case DEVICE_NXP:
return "GPIO4_IO20";
default:
throw new IllegalStateException("Unknown Build.DEVICE " + Build.DEVICE);
}
}
Building Android Client App
1. Download AndroidThingClientApp from this github link, import it into android studio.
https://github.com/Chokkar-G/AndroidThingClientApp.git
2. Get the google-services.json file from the Firebase project and copy it to your app folder.

3.Enable Email, google, Facebook login in Authentication section.

Source Code
https://github.com/Chokkar-G/Android-Things-MSys
https://github.com/Chokkar-G/AndroidThingClientApp
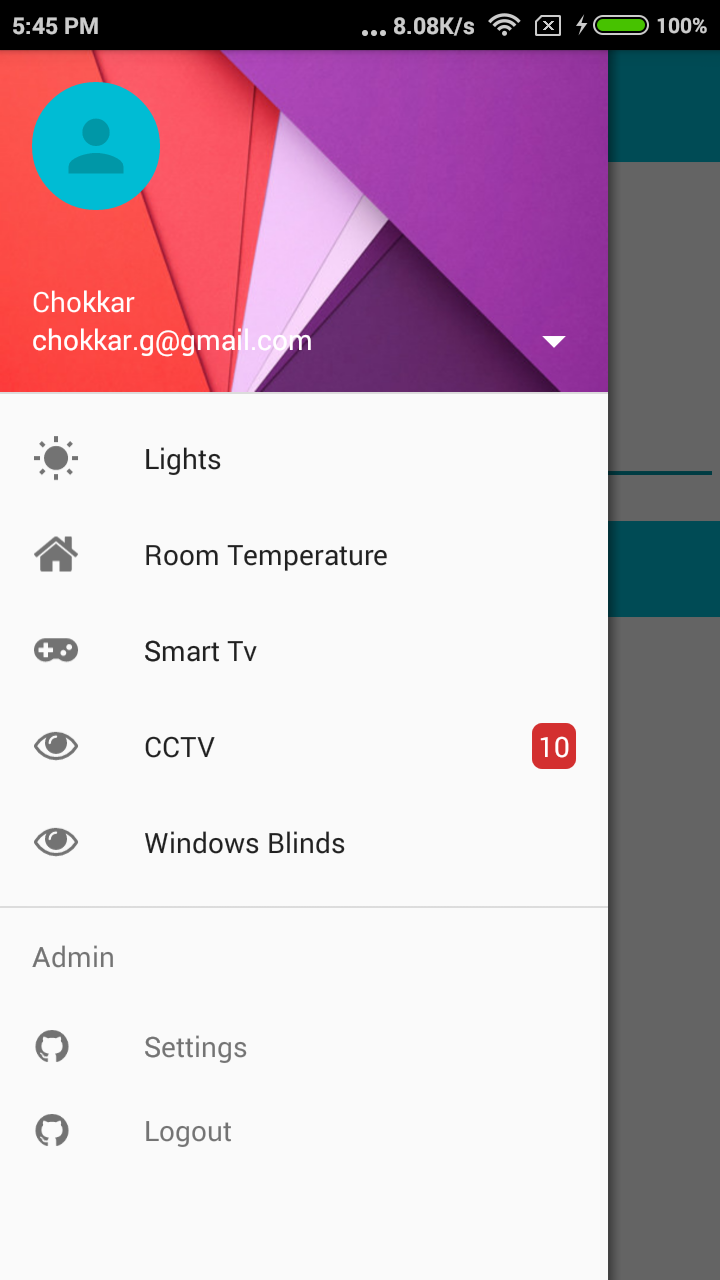
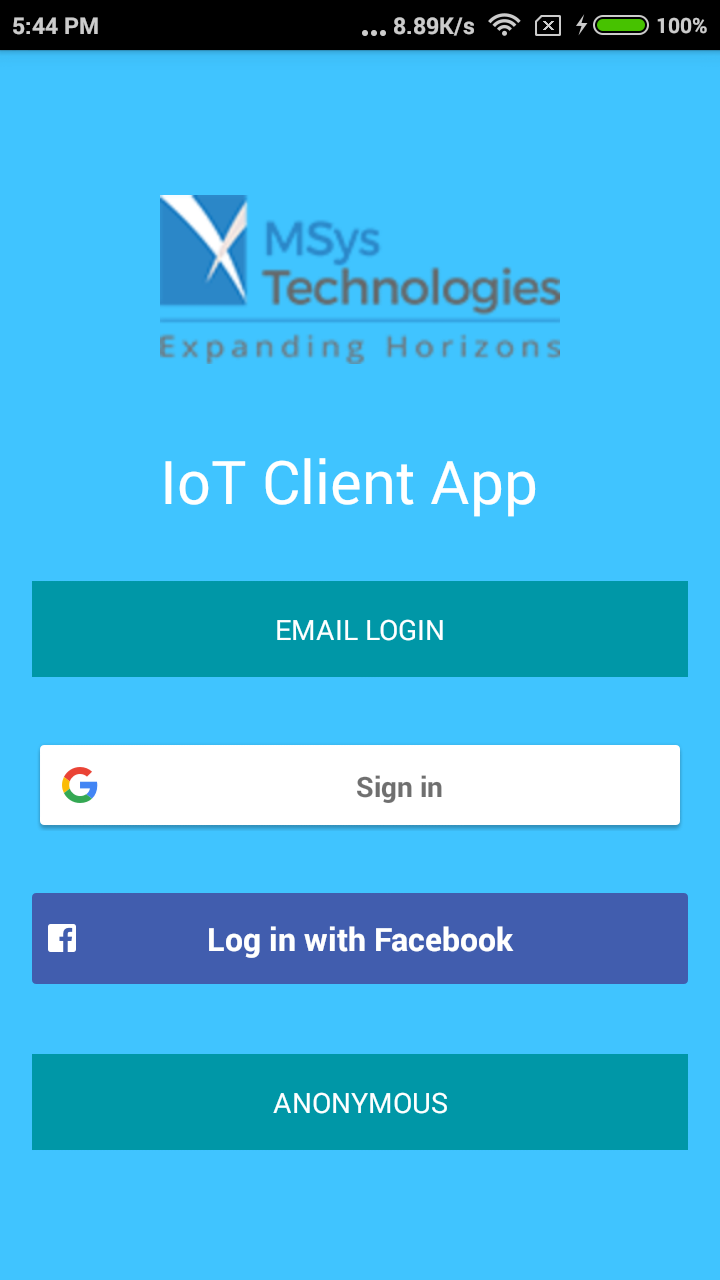
Client app Login and Menu Items
Conclusion
The Internet of Things is easier to implement than the average person would think. We have great potential in IoT. This was just a simple demonstration for IoT. From security systems to healthcare; from transport companies to warehouse management, the possibilities in IoT are simply endless. Further, with the advent of mobile apps like IFTTT, communication has gone to the next level. We can confidently say that the future does belong to IoT.
References:
https://developer.android.com/things/index.html
https://developer.android.com/things/hardware/raspberrypi.html
http://fritzing.org/ (Electrical layout diagram tool)
https://msystechnologies.com/internet-of-things/
https://github.com/amitshekhariitbhu/awesome-android-things

3 Comments
Nice article. As I understand from this article, is it possible to control the LED in real time if there is no internet connection since Mobile devices talks to Firebase (Google cloud services ) ?
is it possible to directly talk to “Android Thing OS” from Mobile, this would certainly be fast and real time ?
Thanks Vidhut for your question, as far as I know,we can do it using Bluetooth module which is in-built on the raspberry pi3 device, For which we need to develop/use profile which could access the GPIO Pins for blinking the LED’s.Currently Bluetooth module is not enabled (as mentioned in the docs in https://developer.android.com/things/preview/releases.html) Android Things OS,Surely will do it once Bluetooth is enabled.
Interesting article Chokkar !!! I guess, now a days, every electronics device has its own remote control. Would it be possible to control the home appliance via remote control using Android Things OS or Mobile Device?